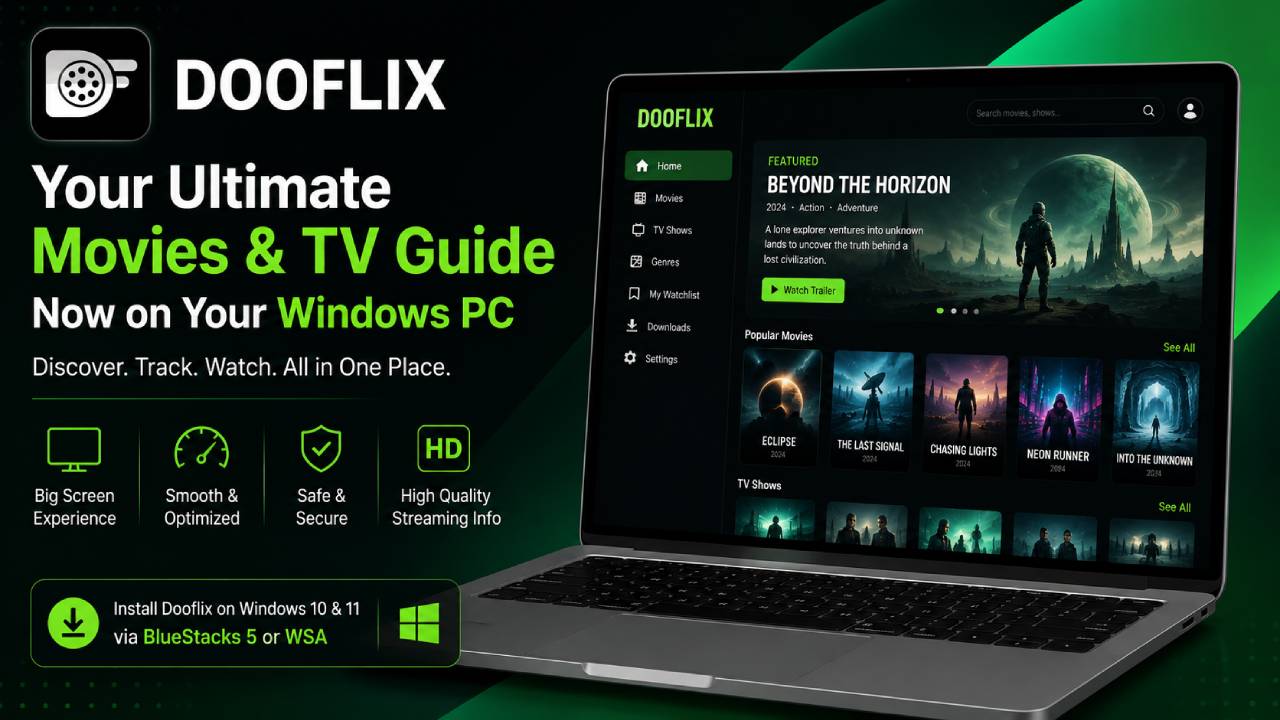
Dooflix has become a widely discussed media discovery and cataloging platform. The app was originally made for Android devices. However, users can also use Dooflix for Windows PC. This setup lets users browse entertainment metadata on a larger screen. Users can also view official trailers and manage their watchlists. In addition, keyboard and mouse controls can make navigation easier.
There is no native x86 Windows executable (.exe) available for Dooflix. Therefore, users cannot install it like a normal Windows program. Instead, a Desktop or Laptop needs an Android Emulation Layer or subsystem environment. This guide explains how to install, configure, and optimize Dooflix on Windows 10 and Windows 11.
Technical Prerequisites for Running Dooflix on Windows
Before starting the setup, check your hardware and software. Android emulation depends heavily on CPU virtualization technology. Therefore, you should enable virtualization at the firmware level. Without it, the app may stutter badly or crash.
| Requirement | Minimum Specification | Recommended Specification |
|---|---|---|
| Operating System | Windows 10 (64-bit, Build 19041+) | Windows 11 (64-bit, Version 22H2+) |
| Processor | Intel Core i3-8100 / AMD Ryzen 3 1200 | Intel Core i5-11400 / AMD Ryzen 5 3600 |
| Virtualization | Enabled in BIOS/UEFI (VT-x / AMD-V) | Enabled in BIOS/UEFI |
| Graphics (GPU) | Intel UHD Graphics 620 / DirectX 11 | NVIDIA GTX 1050 Ti / AMD RX 560 |
| RAM | 8 GB | 16 GB DDR4/DDR5 |
| Storage | 5 GB available SSD space | 10 GB NVMe SSD space |
Method 1: Installing Dooflix via BlueStacks 5 (Recommended)
BlueStacks 5 provides Android app compatibility on Windows. It uses ARM-to-x86 translation libraries to run mobile packages smoothly.
Step 1: Enable Hardware Virtualization in BIOS/UEFI
Restart your PC first. Then, repeatedly press the BIOS key while the computer starts. The key may be F2, Del, or F10. The correct key depends on your motherboard manufacturer.
Next, open the CPU Configuration or Advanced menu. Find Intel Virtualization Technology (VT-x) or SVM Mode (AMD-V). Then, change the setting to Enabled.
Finally, save your changes by pressing F10. After that, allow the computer to boot into Windows.
Step 2: Configure BlueStacks 5
Download and install the latest 64-bit version of BlueStacks 5 from the official distributor.
Next, open BlueStacks. Click the Gear Icon (Settings) in the bottom-right corner.
Under the Performance tab, use these settings:
CPU Allocation: High (4 Cores)
Memory Allocation: High (4 GB or 8 GB)
Performance Mode: High Performance
Then, open the Display tab. Select your monitor’s native resolution, such as 1920 × 1080. Also, set Pixel Density to 240 DPI (Medium).
Finally, click Save Changes. Then, restart the emulator.
Step 3: Install the Dooflix APK
Download the official Dooflix APK package from a trusted, verified repository.
Next, open BlueStacks. Press Ctrl + Shift + 4 on your keyboard. You can also click the Install APK button on the right sidebar.
Select the downloaded .apk file. Then, click Open.
After the installation finishes, the Dooflix icon will appear on the BlueStacks home screen.
Method 2: Installing Dooflix via Windows Subsystem for Android (WSA)
Windows 11 users may prefer a native experience without third-party emulator overlays. Windows Subsystem for Android (WSA) allows mobile apps to run beside normal desktop apps.
First, make sure Virtual Machine Platform is enabled in Windows.
Search for Turn Windows features on or off from the Start Menu. Then, check Virtual Machine Platform and Hyper-V. Click OK and restart your PC.
Next, install WSA with Magisk/GApps. You can also use a standalone WSA package if it is already configured on your system.
After that, enable Developer Mode inside the Windows Subsystem for Android settings page.
Now, open a Command Prompt or PowerShell terminal. Connect to WSA with Android Debug Bridge (ADB):
adb connect 127.0.0.1:58526
adb install path\to\dooflix.apk
Once the installation finishes, Dooflix will appear directly in your Windows Start Menu. It will run inside an isolated application window.
Technical Troubleshooting & Common Errors
1. Black Screen or Blank Video Player
Cause: A graphics renderer conflict or Hardware Acceleration mismatch can cause this problem.
Fix: Open BlueStacks Settings and go to Graphics. Change Graphics Engine Mode to Compatibility. Then, switch the Graphics Renderer between OpenGL and DirectX. Also, make sure ASTC Textures uses Hardware decoding.
2. High CPU Utilization / Frame Drops
Cause: Windows Hypervisor Platform (Hyper-V) may conflict with Android virtualization layers.
Fix: Open Command Prompt as Administrator. Then, enter this command:
bcdedit /set hypervisorlaunchtype off
After running the command, restart your system.
3. “App Not Installed” or Package Parsing Error
Cause: An architecture mismatch can cause this error. For example, a 32-bit-only APK may not work on a 64-bit-only instance.
Fix: Open the BlueStacks Multi-Instance Manager. Then, create a new instance. Select Pie 64-bit or Android 11 (64-bit) as the runtime environment.
Platform Features & Usage Considerations
Running Dooflix on a desktop environment provides several useful features.
Large-Screen Navigation: Dooflix uses native OS scaling on a larger display. This helps show UI metadata, cast lists, and trailers clearly across multi-monitor setups.
Watchlist Management: Users can build, organize, and categorize media titles. In addition, they can use full keyboard shortcuts while managing their watchlists.
External Audio Routing: Dooflix can work directly with Windows Sound Control. Therefore, users can route audio through high-end DACs or multi-channel surround sound speakers.
Security & Privacy Note
Always download Android application packages (.apk) from legitimate, verified sources. Third-party APK files may create security risks. Therefore, scan these files before executing or sideloading them into your virtualization environment.
Use an up-to-date antivirus utility or VirusTotal to scan the files. This step helps you check third-party packages before using them in your Android virtualization environment.